
We’ve all been told that mastering how to make homemade pizza requires a high-heat stone oven, a degree in culinary arts, and about six hours of uninterrupted patience. For a long time, I believed that too, which is why my early attempts usually ended in a gummy, sad-looking mess that stayed stuck to the pan. The truth I finally realized? You don’t need a professional kitchen to get a great crust; you just need a repeatable workflow and a little bit of prep.
I’m not here to give you a complicated recipe that leaves your kitchen looking like a flour bomb went off. Instead, I want to share my personal “pizza protocol”—a streamlined system designed to take the guesswork out of the process. I’ll show you how to manage your dough timing and ingredient prep so you can actually enjoy the process rather than feeling overwhelmed by it. Let’s get into the systems that make a perfect crust possible without the stress.
Table of Contents
Recipe Details
Ingredients
- 2 cups all-purpose flour
- 1 teaspoon instant yeast
- 3/4 cup warm water
- 1 teaspoon salt
- 1/2 cup tomato sauce
- 1.5 cups shredded mozzarella cheese
- 1/4 cup fresh basil leaves
Recipe Instructions
Step 1
First things first: get your dough moving. If you’re using a pre-made ball from the store, let it sit on the counter for at least 30 minutes to reach room temperature. If you’re making it from scratch, mix your flour, yeast, water, and salt in a bowl until it forms a shaggy mass, then knead it on a clean surface for about 8-10 minutes. You’re looking for a texture that is smooth and elastic, not sticky or stubborn. Once it’s ready, tuck it into a lightly oiled bowl, cover it, and let it rise in a warm spot until it has roughly doubled in size.
Step 2
While the dough is doing its thing, let’s prep the environment. This is where most people trip up—they start topping the pizza before the oven is ready. Preheat your oven as high as it will go, ideally around 500°F (260°C). If you have a pizza stone or a heavy baking sheet, slide it into the oven now so it gets properly heat-soaked. A hot surface is the secret to that crispy bottom that keeps you from eating soggy crust.
Step 3
Now, let’s get to the assembly. Clear off a good chunk of your counter space—I always grab my notebook to jot down my topping combos so I don’t lose track. Gently stretch your dough onto a piece of parchment paper or a floured surface. Avoid using a rolling pin if you can; using your hands helps preserve those tiny air bubbles in the crust that make it so much better. Aim for a circle that’s roughly the size of your baking surface, leaving a little extra room around the edges for the crust to puff up.
Step 4
Time for the layers. Spread a thin, even layer of your sauce across the dough, leaving about an inch around the perimeter for the “handle.” Don’t go overboard here, or you’ll end up with a structural disaster. Sprinkle your cheese—fresh mozzarella works beautifully—and then add your toppings. My rule of thumb is to keep it simple; too many toppings will weigh down the dough and prevent it from crisping up properly.
Step 5
The final stretch. Carefully slide your parchment paper (with the pizza on it) onto the preheated stone or baking sheet in the oven. Keep a close eye on it through the oven window; depending on your oven’s quirks, it might take anywhere from 8 to 12 minutes. You’re looking for a crust that is deeply golden and cheese that is bubbling and slightly browned in spots. Once it’s out, let it rest on a wire rack for two minutes before slicing so the cheese sets and you don’t lose all that delicious sauce to the first cut.
Mastering the Best Pizza Dough Recipe and Fermentation Tips
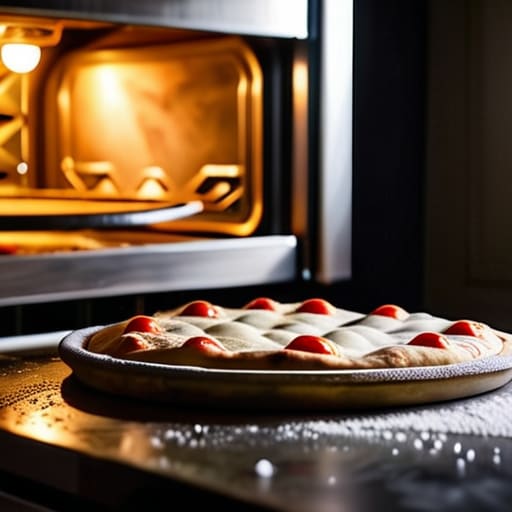
If you really want to elevate your results, you have to embrace the slow game. I’ve learned through a lot of trial and error that the secret to the best pizza dough recipe isn’t actually a fancy ingredient; it’s time. When you let your dough undergo a long, cold ferment in the fridge, you’re allowing the yeast to work more slowly and deeply. This is one of my favorite yeast dough fermentation tips because it develops those complex, slightly tangy flavors that you usually only get at a high-end pizzeria. It turns a simple flour-and-water mix into something with actual character.
I also know that baking pizza in a home oven can feel a bit intimidating because we lack those massive, 800-degree commercial stone ovens. To compensate, I always recommend using a preheated baking stone or even a heavy cast-iron skillet to mimic that intense bottom heat. This is one of those crispy pizza crust techniques that makes a world of difference, ensuring you don’t end up with a soggy center once you add your sauce and cheese. It’s all about managing the heat so the crust can actually stand up to the toppings.
Streamlining Your Toppings and Baking in a Home Oven

Once your dough is ready, the real fun—and the potential for chaos—begins with the assembly. I’ve learned that the secret to a stress-free night is treating your toppings like a mini project: prep everything beforehand. To avoid a soggy mess, keep your homemade pizza sauce ingredients simple and slightly thick; you don’t want a pool of liquid drowning your crust. For easy pizza toppings ideas, think about high-impact pairings like fresh basil, spicy salami, or a drizzle of hot honey. I usually keep a few jars of marinated olives or roasted peppers in my pantry so I’m never caught off guard when the craving hits.
When it comes to the actual heat, baking pizza in a home oven can be a bit of a gamble since we lack that intense wood-fired heat. To compensate, I always preheat my stone or steel for at least forty-five minutes. If you’re looking for those elusive crispy pizza crust techniques, try placing your baking surface on the lowest rack possible to mimic a professional oven. It’s all about creating a predictable environment so you can stop worrying about the timer and actually enjoy the process.
Three Small Tweaks for a Better Pizza Night
- Don’t skip the salt in your dough. It might feel like a small detail, but without enough salt, your crust will taste like plain bread rather than a proper pizza base. It’s the difference between a “meh” meal and something you actually want to order again.
- Use a pizza stone or steel if you have one, but if you don’t, just flip a heavy baking sheet upside down in the oven while it preheats. Getting that surface screaming hot is the only way to mimic a professional oven and get that crucial bottom crust crunch.
- Less is almost always more when it comes to toppings. I’ve learned the hard way that overloading a homemade crust with heavy sauce and too much cheese leads to a soggy middle. Keep it light so the dough can actually do its job and crisp up properly.
The Low-Stress Pizza Summary
Prioritize the prep over the perfection; getting your dough fermented and your toppings organized ahead of time is what actually makes the process enjoyable rather than a kitchen disaster.
Focus on repeatable systems, like pre-heating your stone or prepping your ingredients in batches, so you can stop managing the chaos and start actually enjoying your meal.
Bringing It All Together
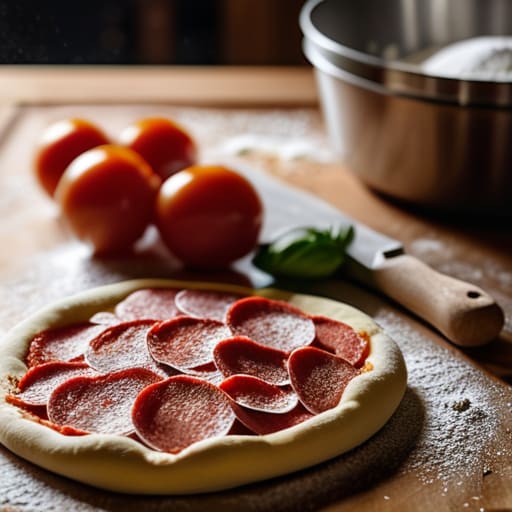
At the end of the day, making great pizza isn’t about having a professional wood-fired oven or a degree in culinary arts; it’s about the systems you put in place. By mastering your dough fermentation and prepping your toppings ahead of time, you turn what could be a kitchen disaster into a smooth, repeatable process. Remember, the goal isn’t to replicate a high-end restaurant perfectly every single time, but to create a functional workflow that lets you enjoy the actual act of cooking without the frantic cleanup or the mid-bake scramble.
Once you have these small habits down, you’ll find that homemade pizza becomes less of a chore and more of a ritual. Whether it’s a Friday night reset or a slow Sunday afternoon, use this time to unplug and actually taste what you’ve created. Life is far too busy to spend it stressed out over a crust, so focus on the simple joy of a good meal. You’ve built the system; now, just sit back and enjoy the results.
Frequently Asked Questions
Can I freeze the dough balls to save time on busy weeknights, or will that mess up the texture?
You absolutely can, and honestly, it’s a total game-changer for those Tuesday nights when you’re too tired to think. Just make sure you freeze them in individual, airtight containers to prevent freezer burn. When you’re ready to bake, move a dough ball to the fridge the night before to let it thaw slowly. It preserves the texture beautifully—just avoid rushing the thaw in the microwave, or you’ll end up with a gummy mess.
My crust always comes out a bit gummy in the middle—how can I get that professional, crispy bottom in a standard home oven?
That gummy center is such a common frustration, but it’s usually just a heat transfer issue. To fix it, I recommend preheating a pizza stone or steel for at least forty-five minutes—it needs to be screaming hot. Also, try baking your pizza directly on the stone, or if you’re using a tray, move it to the lowest rack possible. Getting that intense, immediate heat hits the bottom of the dough before the toppings can soak it all up.