I was staring at a bag of wilted spinach and a half-used carton of heavy cream last Tuesday, feeling that familiar, heavy pang of guilt because I’d let good ingredients go to waste yet again. We’ve all been there—standing in front of a disorganized freezer that looks more like a graveyard for mystery leftovers than a helpful resource. Most people make learning how to freeze food feel like a high-stakes science experiment involving expensive vacuum sealers and complicated dehydration kits, but honestly? That’s just more mental clutter we don’t need.
I’m not here to sell you on a lifestyle of endless meal prepping or fancy kitchen gadgets that just collect dust. Instead, I want to share the small, repeatable systems I’ve actually used to keep my own kitchen running smoothly without the burnout. We’re going to walk through the practical, low-effort ways to manage your inventory so you can stop worrying about expiration dates and start enjoying the mental space that comes with a truly functional kitchen.
Table of Contents
The Art of Vacuum Sealing for Preservation and Longevity
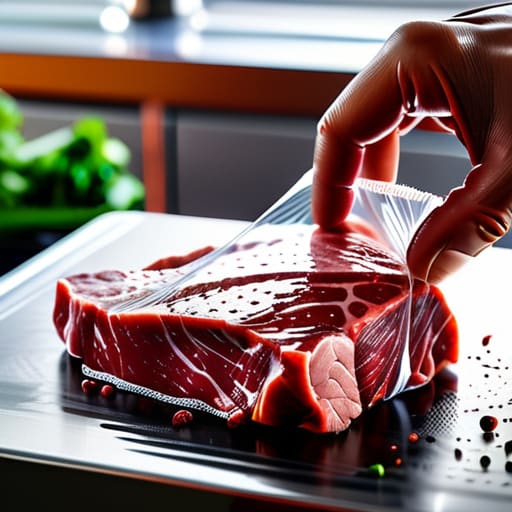
If you’re serious about minimizing food waste and reclaiming your grocery budget, investing in a vacuum sealer is a total game-changer. I used to be so frustrated by finding those icy, flavorless chunks of meat in my freezer, but I quickly learned that preventing freezer burn is all about removing that excess air. When you use vacuum sealing for preservation, you’re essentially creating a tiny, airtight environment for every single ingredient. It’s one of those small, repeatable systems that pays for itself almost immediately.
When I’m prepping for a busy month, I always group my items by how I plan to use them. For delicate items like herbs or soft cheeses, I find it helpful to use a bit of parchment paper first so the machine doesn’t crush them. It’s one of those best practices for food storage that makes a massive difference in texture. Plus, knowing exactly how long food lasts in the freezer when it’s properly sealed gives me such peace of mind; I’m no longer playing a guessing game with my dinner plans.
Best Practices for Food Storage to Prevent Freezer Burn
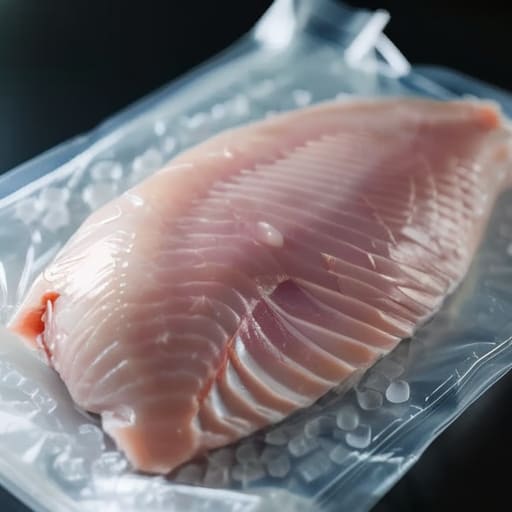
The biggest frustration with freezing is pulling out a piece of chicken only to find it covered in those jagged, icy crystals that ruin the texture. To avoid this, you really need to focus on preventing freezer burn by eliminating as much air as possible from the equation. If you aren’t using a vacuum sealer, even a simple heavy-duty freezer bag can work, provided you use the “straw method” to suck out the excess air before sealing. I’ve found that layering items tightly so there are no large air pockets makes a massive difference in how well they hold up.
Beyond just the seal, choosing the right gear is a game-changer. I always recommend investing in high-quality, freezer safe containers—specifically those with silicone seals—to keep moisture locked in. Also, remember that labeling everything with a date isn’t just for organization; it’s a vital part of my system to ensure nothing gets lost in the “back of the freezer abyss” and expires before you even realize it’s there.
My Three Non-Negotiable Rules for a Stress-Free Freezer
- Flash freeze your small items first. If you toss a bag of loose berries or individual portions of meatballs directly into the freezer, they’ll end up as one giant, unusable ice brick. Spread them out on a baking sheet for an hour or two before bagging them; it’s a tiny bit of extra work upfront that saves you so much frustration when you’re actually trying to cook a meal later.
- Label everything with a date and a “what is it?” note. I know, I know—we all think we’ll remember what that mystery bag of brown cubes is in three weeks, but we won’t. Use a permanent marker to write the contents and the date right on the bag. It keeps the mental clutter down because you aren’t standing there with the freezer door open, staring blankly at your options.
- Leave some breathing room. It’s tempting to jam every single container into every available nook, but air is the enemy here. If you pack things too tightly, you lose the ability to organize, and you’ll end up digging through a mountain of frozen goods just to find one bag of spinach. Leave a little space so you can actually move things around and keep your system functional.
Quick Wins for Your Freezer System
Don’t overcomplicate it; focus on removing as much air as possible from your packaging to keep those ingredients tasting fresh for months instead of weeks.
Think of your freezer as a rotating inventory rather than a black hole—label everything clearly with a date so you’re actually using what you have instead of digging through mystery frost.
Making It Work for You
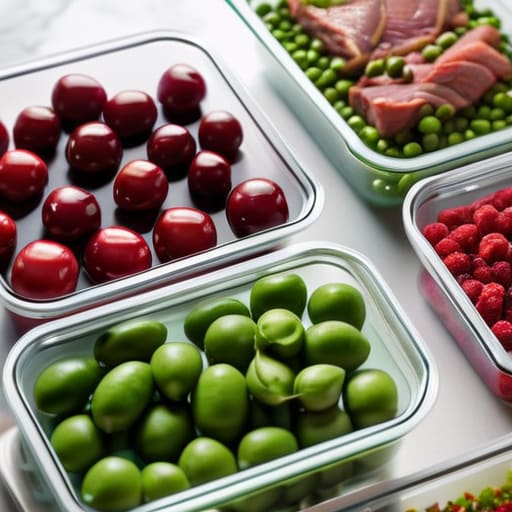
At the end of the day, mastering your freezer isn’t about being a professional chef; it’s about having the right tools—like airtight containers and a reliable vacuum sealer—to protect your investment. By focusing on proper labeling and preventing that dreaded freezer burn, you’re essentially future-proofing your kitchen. It might take an extra ten minutes of prep work now, but the payoff is a pantry full of ready-to-go ingredients that save you from the mid-week panic of “what’s for dinner?” when you’re exhausted.
I know that setting up these little systems can feel like just one more thing on an already overflowing to-do list. But please remember that small, repeatable habits are what actually create mental clarity. You don’t need to freeze everything in your house overnight; just pick one category, like herbs or leftovers, and start there. Once you see how much stress a well-organized freezer removes from your daily routine, you’ll realize that you aren’t just saving food—you’re reclaiming your time and your peace of mind.
Frequently Asked Questions
How do I know when something has actually gone bad in the freezer versus just being slightly freezer-burned?
Honestly, it’s a fine line, but here’s my rule of thumb: freezer burn is mostly a texture and taste issue, not a safety one. If you see those icy, white patches, it’s likely just dehydrated surface tissue—it’ll taste a bit “off” or woody, but it’s safe to cook. However, if you notice a strange, sour smell once it thaws, or if the texture feels slimy rather than just dry, toss it. When in doubt, trust your nose.
Are there certain foods, like delicate herbs or dairy-heavy sauces, that I should definitely avoid freezing altogether?
Honestly, yes. I’ve learned the hard way that not everything belongs in the freezer. I usually steer clear of delicate herbs like basil—they just turn into a dark, unidentifiable mush once thawed. Same goes for dairy-heavy sauces or anything with a lot of emulsion, like hollandaise; they tend to split and lose that creamy texture. If you wouldn’t want to eat it lukewarm and separated, it’s probably better to just use it fresh.