
I used to spend way too much time spiraling before a client meeting, frantically rearranging my entire living room just to find a “professional” backdrop or staring at myself in the webcam wondering why I looked like a grainy, shadowy ghost. We’ve been sold this idea that you need a studio-grade lighting kit and a dedicated home office to look polished, but honestly? That’s just more clutter for your brain to manage. If you’re looking for how to look better on video calls without turning your apartment into a makeshift film set, you don’t need a bigger budget; you just need a better system.
I’m not here to suggest you buy a thousand dollars’ worth of gear or spend forty minutes on “camera-ready” hair. Instead, I want to show you how to build a low-friction setup using things you already own. We’re going to focus on a few high-impact, repeatable tweaks to your lighting and positioning that will reduce your decision fatigue and let you show up feeling calm and prepared.
Table of Contents
Optimizing Your Professional Video Call Lighting Setup
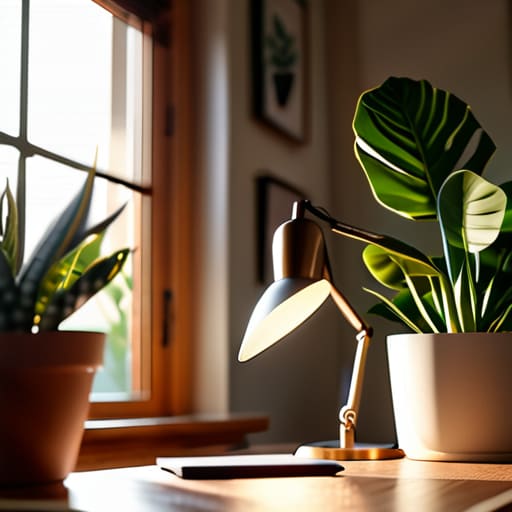
The biggest mistake I see people make is relying on that harsh overhead light in the center of the room. It creates these deep, unflattering shadows under your eyes that make you look like you haven’t slept since 2019. For a solid professional video call lighting setup, my golden rule is to find a natural light source. If you can, position your desk so you’re facing a window. The soft, diffused light from outside is much more forgiving than a ceiling bulb.
If you’re working in a dark corner or during a late afternoon meeting, don’t panic. You don’t need a studio-grade ring light; just grab a simple desk lamp and place it behind your monitor, slightly to one side. The goal is to wash your face in even light without creating a glare on your glasses. Avoid placing the light directly behind you, or you’ll end up as a dark silhouette against a bright window, which is a total distraction for whoever you’re talking to.
Mastering Best Webcam Angles for Meetings
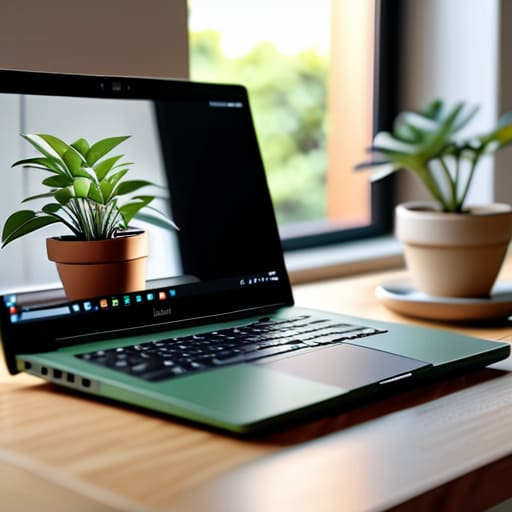
Once you’ve nailed your lighting, the next thing that usually trips me up is the “nose-hair view.” We’ve all been there—staring up at a colleague who has their laptop sitting directly on the desk, making it look like they’re filming a documentary from a basement. To avoid this, aim for the best webcam angles for meetings by bringing your camera up to eye level. If you’re working from a laptop, don’t be afraid to use a stack of heavy textbooks or a dedicated laptop stand. You want the lens to be level with your eyes so you’re looking at your team, not down at them, which instantly boosts your remote work professional appearance.
It’s also worth considering your physical posture in relation to the frame. I like to make sure there’s a little bit of “headroom”—that tiny bit of space between the top of your head and the top of the frame—so you don’t look like you’re being squished into the screen. If you find yourself constantly adjusting your chair or leaning in to be seen, it’s a sign your setup needs more stability. A slight tilt can actually make you look more engaged, but keep it subtle; the goal is to look natural and present, not like you’re filming a cinematic monologue.
Low-Friction Visual Fixes for a Polished Presence
- Curate a “Background That Doesn’t Distract.” You don’t need a dedicated home office or a designer bookshelf; just aim for a tidy corner. If your living room is a bit of a chaotic mix of laundry piles and half-finished projects, don’t sweat it—just use a subtle blur effect. It keeps the focus on you and saves you from the mental energy of a deep clean before every 9:00 AM.
- Auditory Clarity is Part of Your Visual Brand. It sounds strange, but if you look professional but sound like you’re underwater, the illusion breaks. If you aren’t using a dedicated mic, just plug in your phone’s wired earbuds. The mic on those is usually much better than your laptop’s built-in one, and it helps eliminate that hollow, echoing room sound.
- The “One-Minute Wardrobe Check.” I’ve learned the hard way that certain patterns—like tiny stripes or busy florals—can actually vibrate or “moiré” on camera, making you look blurry or dizzying to others. Stick to solid, mid-tone colors. It’s a tiny decision that removes the guesswork from your morning routine and ensures you look crisp on screen.
Quick Wins for Your Next Meeting
Prioritize light over expensive gear; a simple desk lamp or sitting near a window does more for your professional presence than a high-end camera ever could.
Set your camera at eye level to avoid the “looking down” effect, which keeps the interaction feeling natural and reduces that awkward feeling of staring into a dark void.
Final Thoughts on Your Digital Presence
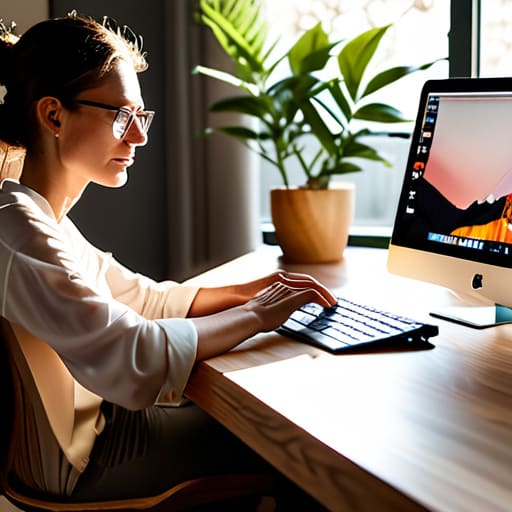
At the end of the day, looking better on camera isn’t about achieving some polished, studio-quality perfection; it’s about reducing the friction of your daily workflow. By simply adjusting your lighting to face a window, elevating your laptop to eye level, and cleaning up your background, you’ve already done the heavy lifting. These small, intentional adjustments ensure that when you show up to a meeting, the focus remains on your ideas and your professional presence rather than a grainy, poorly lit image that distracts from your message.
Remember, these setups are meant to serve you, not add another layer of stress to your to-do list. You don’t need a professional production crew to feel confident in your workspace; you just need a few reliable systems that work every time you hit “join meeting.” Once you get these basics down, you’ll find you have more mental energy to actually engage with your colleagues and focus on the work that truly matters. You’ve got this.
Frequently Asked Questions
What should I do if my workspace is small and I don't have a window or a dedicated spot for a ring light?
If you’re working from a cramped corner or a dark studio apartment, don’t panic—you don’t need a professional studio to look polished. I usually lean on “layering” light instead of one big source. Grab a small, inexpensive desk lamp and position it slightly behind your monitor to soften the shadows on your face. Even a cheap warm-toned bulb can do wonders. The goal isn’t perfection; it’s just making sure you aren’t a silhouette.
How can I fix my background if my apartment is messy but I don't want to use those fake, blurry digital filters?
I totally get it—those digital blurs can feel a bit “uncanny valley” and distracting. If your apartment isn’t camera-ready, try the “one-corner rule.” Instead of cleaning the whole room, just clear a single 4×4 area behind you. A tidy bookshelf or even a clean, neutral wall works wonders. If you’re stuck with a messy view, try angling your desk so you’re facing a corner rather than the middle of the room.