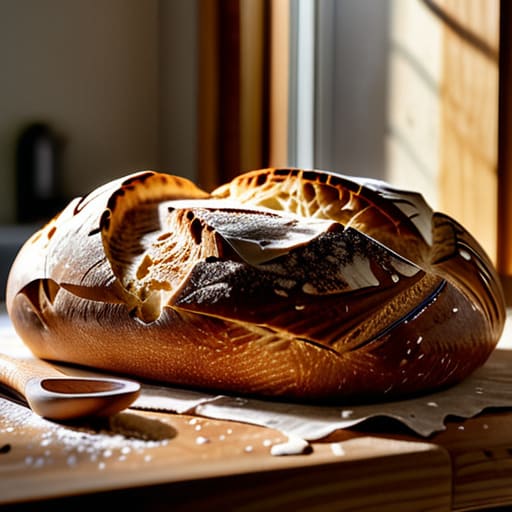
I used to think that learning how to bake bread at home required a professional-grade kitchen and a level of patience I simply didn’t possess during a frantic work week. I’d look at those intimidating, multi-step sourdough recipes and see nothing but a recipe for more mental clutter. But here’s the truth: you don’t need a degree in chemistry or a marble countertop to get a decent loaf; you just need a repeatable rhythm that fits into your actual life.
In this guide, I’m stripping away the gatekeeping and the overly complicated jargon to show you a low-stress system for baking. We’re going to focus on a simple, dependable method that works even when your schedule is a mess. I’ll walk you through the essential tools, the basic timing, and how to integrate it into your routine so you can stop stressing about the process and start actually enjoying the smell of warm bread in your kitchen.
Table of Contents
Guide Overview
Tools & Supplies
- Mixing bowl for combining ingredients
- Measuring cups and spoons for accuracy
- Oven for baking
- All-purpose or bread flour 500g
- Warm water 350ml
- Active dry yeast 7g
- Salt 10g
Step-by-Step Instructions
- 1. First, let’s get your workspace ready. I’m a big believer that a cluttered counter leads to a cluttered mind, so clear off a decent amount of space and grab a large mixing bowl, a kitchen scale (if you have one), and a sturdy spatula. Don’t worry about fancy bread machines or professional-grade tools; you just need the basics to get started without feeling overwhelmed by gear you’ll never use again.
- 2. Next, we move into the mixing phase. In a large bowl, combine about 500g of bread flour, 7g of instant yeast, and a teaspoon of salt, then slowly pour in 350ml of lukewarm water. Use your hand or a sturdy spoon to bring it all together until it forms a shaggy, messy dough. It’s going to look a bit unappealing at this stage, but trust the process—it’s just the foundation.
- 3. Now comes the part most people dread: the kneading. Instead of trying to master complex folding techniques right away, just grab your dough and work it on a lightly floured surface for about 10 minutes. You’re looking for the dough to transform from a sticky clump into something smooth and elastic. If it keeps sticking to your hands like glue, add just a tiny bit more flour, but don’t go overboard or you’ll end up with a brick.
- 4. Once the dough feels supple, it’s time to let it rest. Lightly oil your bowl, tuck the dough inside, and cover it with a clean kitchen towel. Now, this is where you step away. Instead of hovering over it, use this time to tackle a quick household task or perhaps do a few minutes of restorative yoga. Let it sit in a warm, draft-free spot for about an hour, or until it has roughly doubled in size.
- 5. After the rise, gently tip the dough onto your counter and “punch” it down—which is really just a fancy way of saying press the air out with your knuckles. Shape it into a rough ball or a log, depending on what kind of baking dish you have, and place it into a greased pan or onto a piece of parchment paper. Let it rise one more time for about 30 to 45 minutes while you preheat your oven to 425°F (220°C).
- 6. The final stretch is the bake. Slide your dough into the oven and set a timer for 30 to 35 minutes. You’ll know it’s ready when the crust looks a beautiful golden brown and the bottom sounds hollow when you give it a little tap. If you’re feeling ambitious, you can throw a shallow pan of water on the bottom rack of the oven to create steam, which helps get that professional-looking crust.
- 7. This is the hardest step for me: the waiting. Once the bread comes out, move it to a wire rack and let it cool completely before you even think about slicing into it. I know it smells incredible, but cutting into hot bread can actually ruin the internal texture and make it gummy. Give it at least an hour to settle, then grab your butter and enjoy the literal fruits of your labor.
Curating Your Essential Bread Making Equipment
Before you go out and buy every specialized gadget on a kitchenware website, take a breath. You don’t need a professional bakery setup to get great results; you just need a few reliable tools that reduce friction in your routine. I used to think I needed a heavy-duty stand mixer to handle different kneading dough techniques, but honestly, my hands and a simple glass bowl do the trick just fine. If you’re looking to invest in one thing, make it a decent digital scale. Measuring by volume is a recipe for inconsistency, and a scale takes the guesswork out of your ratios, which is the first step toward a repeatable system.
When it comes to the actual bread making equipment, I’m a huge advocate for the “less is more” approach. A heavy Dutch oven is a game-changer for mimicking professional steam environments, but even a simple baking stone can work if you’re careful. The most important thing to monitor isn’t actually a tool, though—it’s your environment. Keeping an eye on your proofing dough temperature is what separates a flat loaf from a beautiful, airy one. You don’t need fancy gadgets to manage the heat; just a warm corner of your kitchen and a little bit of observation.
Mastering Flour Types for Baking Success
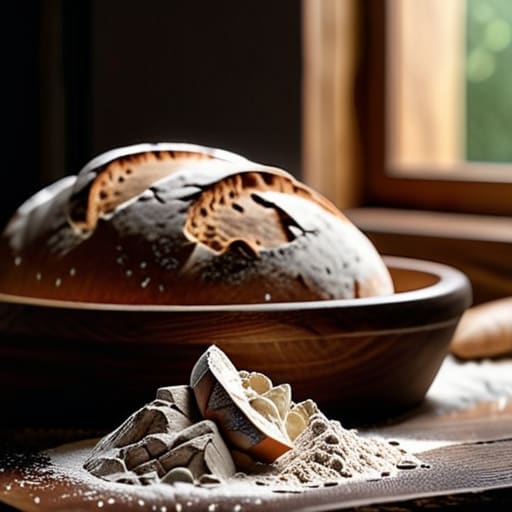
When I first started, I thought “flour” was just one single ingredient you grabbed from the pantry, but I quickly learned that the protein content is what actually dictates your results. If you want that chewy, structured texture you see in professional loaves, you really need to lean into bread flour with its higher protein levels. On the other hand, if you’re experimenting with lighter, more delicate styles, an all-purpose flour can work, though it won’t give you that same dramatic rise.
I’ve found that understanding these different flour types for baking is the secret to mastering the yeast fermentation process. High-protein flours provide a stronger “skeleton” for the gases to expand into, which is essential if you’re trying to replicate those airy, hole-filled artisan loaves. Don’t feel like you need to buy every specialty grain on the market right away; just start with a reliable bread flour and get a feel for how it responds to your touch. Once you understand how the grain behaves, the rest of the system starts to click.
Three Small Shifts to Save Your Sanity (and Your Dough)
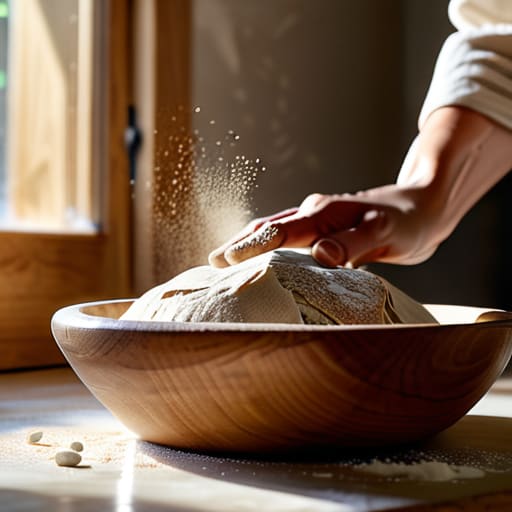
- Stop obsessing over the clock and start watching the dough. Yeast is a living thing, and it doesn’t care that your recipe says “rise for one hour.” If your kitchen is a bit chilly, it might need ninety minutes; if it’s warm, it might be ready in forty. Learn to trust your eyes and the feel of the dough rather than the timer on your phone.
- Embrace the “messy” middle by prepping your space before you start. There is nothing more stressful than realizing you’re mid-knead and suddenly realizing you don’t have enough flour or a clean surface. I always clear my counter and lay out my notebook and tools first—it turns a chaotic kitchen project into a controlled, meditative process.
- Don’t fear the “ugly” loaf. I used to get so discouraged when my bread didn’t look like a professional sourdough from a high-end bakery. But here’s the secret: a slightly lopsided loaf with a rustic crust still tastes incredible. Focus on the system and the flavor, not the Instagram-perfect aesthetic.
Making it Stick: My Two Golden Rules for Bread Success
Don’t get caught in the “perfect recipe” trap; instead, focus on building a repeatable rhythm that fits your actual life, whether that’s a long slow ferment on weekends or a quick dough during the week.
Invest in the basics rather than the gadgets—a decent scale and a simple proofing basket will do way more for your sanity and your crust than a fancy, expensive bread machine ever could.
Finding Your Rhythm in the Dough
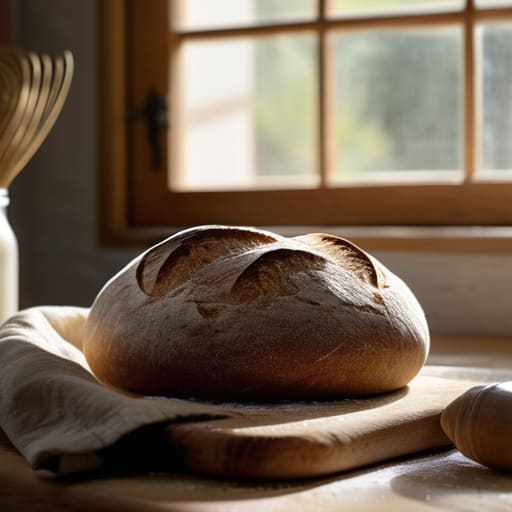
At the end of the day, baking bread isn’t about achieving that flawless, magazine-cover sourdough boule on your first try. It’s about the systems we’ve discussed—having your flour sorted, your tools ready, and a repeatable routine that doesn’t leave you feeling overwhelmed by a sink full of floury dishes. Whether you’re leaning into a high-protein bread flour for structure or keeping things simple with a basic all-purpose mix, the goal is to create a reliable process that fits into your actual life. Once you have those foundational steps down, the technical side starts to feel less like a chore and more like a predictable ritual.
Don’t let the fear of a dense loaf or a messy countertop stop you from starting. There is something deeply grounding about the tactile nature of kneading dough; it’s one of the few times I feel truly disconnected from my digital notifications. Let your kitchen be a space for experimentation rather than perfection. As you refine your technique, you’ll find that the best part isn’t just the warm bread, but the mental clarity that comes from mastering a small, beautiful part of your home.
Frequently Asked Questions
I’ve tried making bread before and it always ends up like a brick; how do I know if my dough actually has enough structure and strength?
I’ve been there—nothing is more discouraging than pulling a literal brick out of the oven. To avoid that, stop looking at the ingredients and start looking at the texture. When you’re kneading, you’re looking for the “windowpane test.” Grab a small piece of dough and gently stretch it; if it thins out enough to see light through it without tearing, you’ve built that vital structure. If it snaps immediately, keep working.
My schedule is pretty unpredictable, so is there a way to prep dough ahead of time without it over-proofing while I'm working?
I totally get this—my freelance schedule can be just as erratic. The secret is using your fridge as a “pause button.” Instead of letting dough sit on the counter, move it to the refrigerator once it’s mixed and shaped. This slow fermentation (or cold proofing) keeps the yeast from going into overdrive. It’s a lifesaver; you can prep the dough the night before and bake it whenever your workday actually allows.