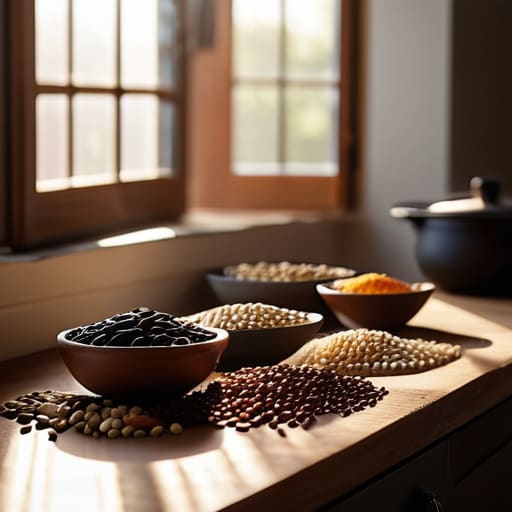
I used to think that mastering the art of how to cook beans and lentils required a high-end pressure cooker and an unreasonable amount of patience. I spent way too much money on “quick-cook” canned versions that always ended up tasting like metallic mush, or I’d commit to an overnight soak only to end up with a pot of something that was somehow both burnt and undercooked. It felt like a massive mental tax I just didn’t have the bandwidth for after a long day of managing client deadlines.
I’m over the gatekeeping and the complicated kitchen gadgets. In this guide, I’m sharing the exact, low-maintenance systems I use to keep my pantry stocked and my meals functional. We’re going to skip the fluff and focus on repeatable methods that actually work, ensuring you get creamy, flavorful results every single time without turning your kitchen into a science lab. This is about making legumes work for you, not the other way around.
Table of Contents
Soaking Dried Beans vs No Soak Choosing Your Workflow
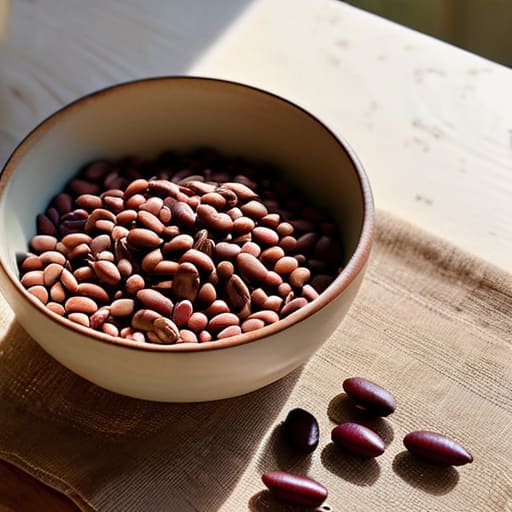
This is where most people get stuck, and honestly, it’s where my own kitchen chaos usually begins. When deciding between soaking dried beans vs no soak, I try to look at it through the lens of my weekly schedule. If I have the foresight to start a soak the night before, I’m rewarded with a much faster cook time and a texture that’s consistently creamy. It’s a tiny bit of prep that pays massive dividends in terms of digestion and efficiency.
However, if I’m mid-week and realize I’ve forgotten to prep, I don’t panic—I just pivot. You can absolutely skip the soak, but you have to adjust your expectations regarding cooking times for different legumes. Skipping the soak usually means a longer simmer on the stove, or if you’re like me and value speed, leaning heavily on your Instant Pot. For those days when I’m running on caffeine and tight deadlines, I find that pressure cooker bean instructions are a total lifesaver, cutting hours of waiting down to mere minutes.
Mastering Cooking Times for Different Legumes and Pressure Cooker Instructi
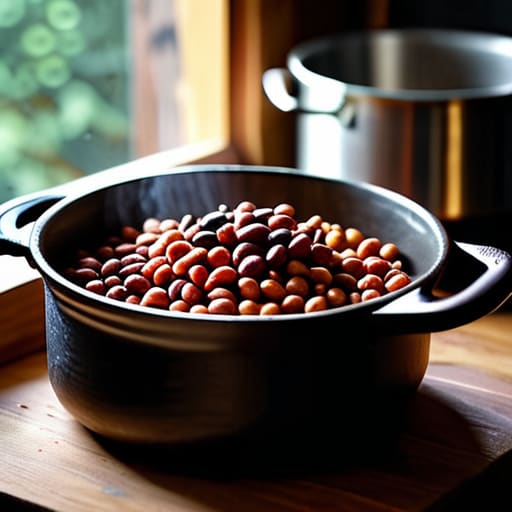
If you’re anything like me, you probably want to set a timer and walk away, but legumes are notoriously finicky. The reality is that cooking times for different legumes vary wildly depending on the variety and how long they’ve been sitting in your pantry. I usually keep a little cheat sheet tucked into my notebook for this: dried lentils are the “quick wins” of the legume world, often ready in 15–20 minutes, whereas hearty chickpeas or kidney beans can take an hour or more on the stovetop. If you try to rush them, you’ll likely end up with a texture that’s frustratingly uneven.
For those days when my schedule feels particularly chaotic, I lean heavily on my pressure cooker. Using pressure cooker bean instructions can cut your wait time by more than half, which is a total game-changer for weeknight meal prep. Just remember that even with a pressure cooker, you still need to account for the natural pressure release time. Once they’re done, don’t forget to think about your storage system; I always freeze my extra portions in small, single-serving silicone bags so I can grab a handful of protein whenever I need a quick boost.
Three Small Habits for Better Beans
- Season as you go, not just at the end. I’ve learned the hard way that adding a bay leaf, a smashed garlic clove, or a piece of kombu to the pot while the beans simmer creates a depth of flavor that salt alone just can’t touch.
- Watch your salt timing. If you’re using the “no-soak” method, wait until the beans are actually tender before hitting them with the heavy salt; adding it too early can sometimes toughen the skins, and nobody wants a bowl of pebbles.
- Don’t toss the cooking liquid. If you’re making a stew or a soup, that starchy bean broth is liquid gold—it adds body and a silky texture to your dish that makes it feel much more intentional and less like a rushed weeknight meal.
Quick Systems for Your Next Batch
Don’t overthink the texture; if you’re short on time, use a pressure cooker to bypass the long soak, but if you have the mental bandwidth, the traditional soak is still my gold standard for a creamy, reliable result.
Treat your legume cooking like a batch process—cook more than you need for a single meal and freeze the extras in small portions so you always have a high-protein, low-effort base ready for a quick dinner.
Putting the System into Practice
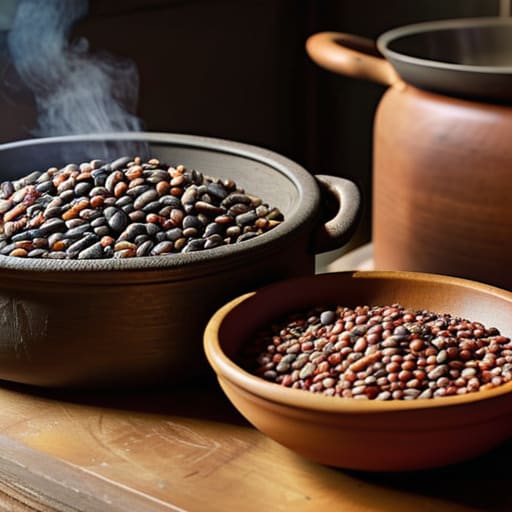
At the end of the day, mastering beans and lentils is less about following a rigid recipe and more about understanding your own kitchen’s rhythm. Whether you decide to commit to an overnight soak for better digestion or lean on your pressure cooker for a quick weeknight win, the goal is consistency. Remember to keep a close eye on those cooking times and always season your aromatics early to build layers of flavor. Once you have these basic workflows down, you aren’t just cooking a side dish; you are building a reliable culinary foundation that makes meal prepping feel less like a chore and more like a streamlined process.
I know that looking at a bag of dry legumes can feel a bit daunting when you’re already juggling a million other things. But please remember that perfection isn’t the requirement here—functionality is. Even if your first batch comes out a little too soft or a bit underdone, you’ve still succeeded in creating a sustainable habit. Don’t let the fear of a failed pot stop you from trying. Small, repeatable wins in the kitchen eventually lead to greater mental clarity and a much more peaceful home life.
Frequently Asked Questions
Is it actually worth discarding the soaking water, or am I just throwing away nutrients?
I’ve wrestled with this one myself, usually while staring at a sink full of cloudy bean water. Here’s the pragmatic truth: toss it. While there’s a tiny amount of nutrients in there, you’re mostly just throwing away the complex sugars (oligosaccharides) that cause that dreaded post-dinner bloating. Think of the soak as a detox phase for your beans. Draining that water and rinsing thoroughly is a small, essential step for a much more comfortable digestive experience.
How do I stop my beans from turning into a mushy mess if I'm planning to use them in a salad?
The “Salad Integrity” Trick: To keep beans from turning into a mushy mess, you have to stop cooking by time and start cooking by touch. Check them two minutes early; you want “al dente,” not soft. Once they’re just barely tender, drain them immediately and rinse with cold water to halt the cooking process. If you leave them in the hot pot, they’ll keep softening until they disintegrate in your dressing.