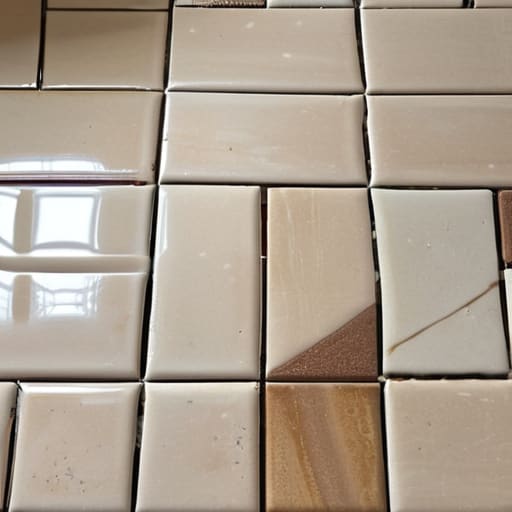
I was standing in my kitchen last Tuesday, coffee in hand, staring at the floor when it hit me: those dark, dingy lines between my tiles weren’t just dirty; they were visually loud. It’s amazing how much mental clutter a few stained grout lines can create when you’re just trying to enjoy a quiet morning. Most people think you need expensive, harsh chemicals or a professional deep-clean to fix it, but I’ve learned that figuring out how to clean grout is actually about finding a repeatable, low-effort system rather than a one-time miracle cure.
I don’t have time for complicated, multi-step scrubbing marathons that leave my back aching and my kitchen smelling like a laboratory. Instead, I want to show you how to approach this with a minimalist mindset. In this guide, I’m breaking down the most effective, no-nonsense methods to refresh your tiles without the overwhelm. We’ll cover the basic tools you likely already have in your pantry and a simple maintenance schedule so you can reclaim your space and keep that sense of calm long after the cleaning is done.
Table of Contents
Guide Overview
Tools & Supplies
- Stiff grout brush or old toothbrush for scrubbing
- Microfiber cloths for wiping and drying
- Bucket for mixing solutions
- Baking soda (1 cup)
- White vinegar (1/2 cup)
- Warm water (2 cups)
- Dish soap (few drops)
Step-by-Step Instructions
- 1. First, I always clear the decks. Before you even touch a cleaning solution, move any rugs, floor plants, or stray kitchen tools off the tiles. It’s much harder to find your flow when you’re constantly shuffling obstacles out of the way, so give yourself a completely clear workspace from the start.
- 2. Next, grab your vacuum and a brush attachment to do a thorough dry sweep. You want to suck up every bit of loose dust, hair, and crumbs that might be sitting in those little crevices. If you skip this, you’ll just end up turning that dust into a muddy sludge once you add the liquid cleaners, which is a mess nobody has time for.
- 3. Now, let’s prep the solution. While some people swear by harsh chemicals, I prefer a more controlled approach using a simple mix of warm water and a bit of oxygenated bleach or a dedicated grout cleaner. I usually keep a small glass spray bottle handy for this; it helps you apply the solution precisely without soaking the entire floor and making it a slipping hazard.
- 4. Once the grout is damp, it’s time for the real work: scrubbing. I highly recommend investing in a stiff-bristled grout brush—or, if you’re on a budget, an old toothbrush works wonders. Apply the cleaner and work in small, circular motions along each line. Don’t try to tackle the whole room at once; focus on one section at a time to keep the process manageable and prevent the cleaner from drying out too quickly.
- 5. For those stubborn, dark spots that seem immune to a light scrub, don’t panic. You can create a thick paste using baking soda and a tiny amount of water. Spread it over the offending lines and let it sit for about ten minutes to let the chemistry do the heavy lifting before you scrub again.
- 6. After you’ve worked through the grime, it’s time to rinse. Take a microfiber cloth dampened with plain water and wipe away the residue. It’s important to be thorough here; if you leave cleaning agents behind, they can actually attract more dirt over time, which defeats the whole purpose of our little reset.
- 7. Finally, let everything air dry completely before you move your furniture or rugs back into place. If you have particularly porous grout, this is the perfect moment to consider applying a grout sealer. It’s a small, extra step that adds a layer of protection, making your future maintenance much more effortless and keeping that sense of calm intact.
Finding the Best Grout Cleaner for Tile Without the Chaos
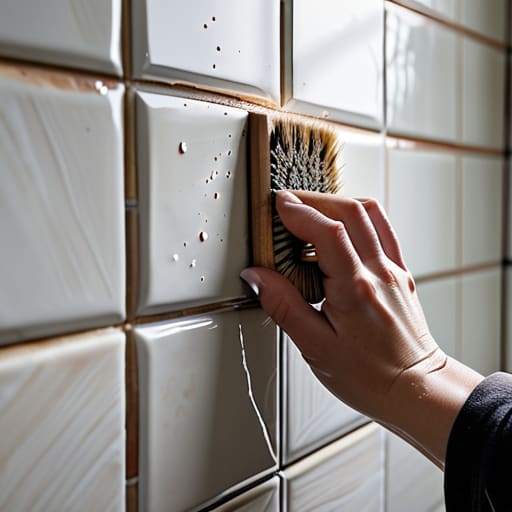
When you’re standing in the middle of a cleaning aisle, staring at a wall of neon-colored bottles, it’s easy to feel overwhelmed. I used to think more “industrial strength” meant better results, but I quickly learned that harsh chemicals can actually degrade your surfaces over time. If you’re looking for the best grout cleaner for tile without the headache, I always suggest starting with the basics. For most of my weekly maintenance, I lean toward natural grout cleaning solutions like a simple mixture of baking soda and white vinegar. It’s effective, non-toxic, and doesn’t leave that heavy chemical scent lingering in your home.
However, if you’re tackling a more intense project—like trying to remove mold from grout lines in a damp bathroom—you might need to step up your toolkit. This is where having the right hardware matters just as much as the solution itself. I’ve found that investing in a few high-quality, deep cleaning grout brushes with stiff bristles makes a massive difference in how much physical effort you actually have to exert. It’s all about working smarter, not harder, so you can get the job done and get back to your day.
Natural Grout Cleaning Solutions for a Healthier Home
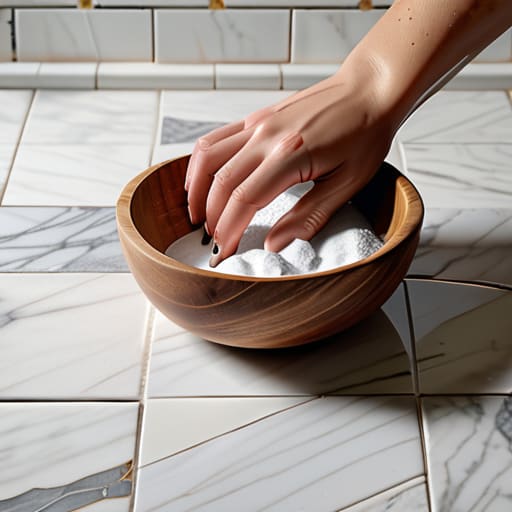
If you’re like me and prefer to keep your living space free of harsh chemical fumes—especially in small, enclosed areas like the bathroom—leaning into natural grout cleaning solutions is a total game-changer. I’ve found that a simple mixture of baking soda and water creates a gentle yet effective paste that tackles grime without making me hold my breath while I scrub. For those areas that feel a bit more stubborn, adding a splash of white vinegar can help remove mold from grout lines more effectively, providing a deep clean that feels much more aligned with a mindful, healthy home.
Just remember that while these DIY methods are wonderful for regular maintenance, they work best when you’re consistent. I like to treat this as part of my monthly “reset” routine rather than waiting for the tiles to look visibly dingy. Once you’ve finished your deep clean, don’t forget about grout sealer application; it’s the ultimate way to protect your hard work and ensure your surfaces stay easy to manage for much longer.
Three Pro-Tips to Keep the Chaos at Bay
- Don’t wait for the “deep clean” day. If you catch a small spill or a bit of grime on the grout line immediately, a quick wipe with a damp microfiber cloth prevents it from setting in and becoming a weekend-long project.
- Invest in a decent grout brush rather than relying on an old toothbrush. A dedicated, stiff-bristled brush saves you so much physical effort and ensures you’re actually getting into the crevices without losing your patience halfway through.
- Once your grout is clean and dry, consider a sealer. It sounds like one more thing on the to-do list, but it’s actually a gift to your future self—it creates a barrier that makes future maintenance much faster and less frequent.
The Grout Maintenance Mindset
Don’t aim for perfection; instead, aim for a consistent rhythm. A quick, ten-minute scrub once a month is much more sustainable for your mental load than a massive, overwhelming deep-clean once a year.
Choose your tools based on your environment. Whether you’re reaching for a heavy-duty commercial cleaner or a simple mix of baking soda and vinegar, the goal is to have a reliable system that fits your lifestyle without adding unnecessary chaos to your weekend.
The Clean Slate
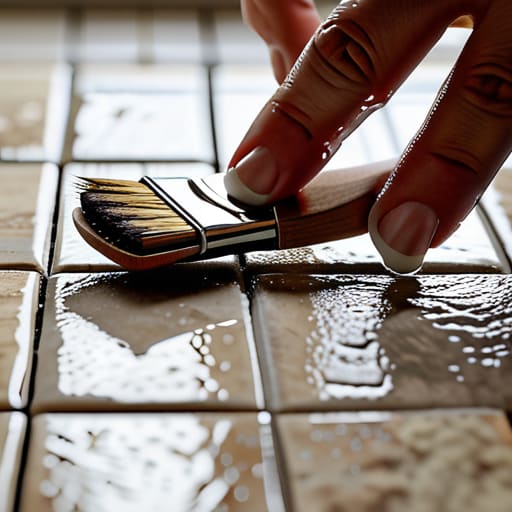
At the end of the day, reclaiming your tile doesn’t require an expensive professional service or a cabinet full of harsh chemicals. Whether you opted for a heavy-duty cleaner to tackle years of buildup or stuck to a gentle, natural solution like baking soda and vinegar, the goal was the same: removing the visual clutter that makes a room feel heavy. By choosing the right tools and following a consistent, systematic approach, you’ve turned a daunting chore into a manageable task that actually yields results.
I know that when life feels overwhelming, scrubbing grout lines might seem like the last thing on your priority list. But there is something deeply restorative about seeing those lines turn bright and clean again. It’s a small, tangible win that proves you are in control of your environment. Don’t aim for a showroom-perfect finish every single time; just focus on creating a functional space that feels light. Once the grout is clear, you’ll find you have a little more mental breathing room to simply enjoy being home.
Frequently Asked Questions
How often should I actually be deep cleaning my grout to keep it from getting overwhelming?
The Grout Maintenance Rhythm: Finding Your Sweet Spot
Is there a way to seal my grout after cleaning so I don't have to do this whole process again so soon?
The short answer is: yes, and honestly, it’s the best way to protect your peace of mind. Sealing your grout creates a barrier that prevents dirt and moisture from sinking in, which means less scrubbing for you down the line. Once your tiles are bone-dry after cleaning, grab a high-quality penetrating sealer. It takes a little bit of time upfront, but it’s a small investment that keeps your kitchen feeling calm and manageable for much longer.